Followers

Saturday, 23 February 2013

Bows at A Gem of a Challenge

With all the excitement that surrounded baby Emily arriving a little on the early side I forgot to share some rather fabulous news with you all…..I’ve joined the Pink Gems Design Team. I’m so thrilled as I absolutely adore Janet’s Digital Designs and I have been chomping at the bit to start working with them.

I’m on Team Gem and it’s our turn to post a challenge card this week. Mandy is our host and she has chosen the theme of...

Add a Bow

Obviously having a newborn again has taken a bit of getting used to, but we’re settling in nicely now, however I felt I was in need of a little ‘Me’ time this last week so out came the ProMarkers for me to do a little colouring.  After some short bursts of crafting over several days I have managed to turn the image into a card. I’ve used the adorable Skateboard Andy and made a Birthday card for my Little Boy Elliot, who turned three on Wednesday…


My papers are from the Fancy Pants ‘To the Moon’ 6x6 pad and the red card is from my stash. The sentiment is a clear stamp from Pink Gem, the number three has been cut out using Memory Box Parker Number Dies, the letters have been cut using MFT ‘By the Letter’ dies and the bows and pearls are from my stash.


The challenge will end at 6pm on 1st March, so please hop across to the A Gem of a Challenge blog to see what the rest of the team have created and while you are there join in with us.

Lastly I just wanted to say ‘Welcome’ to my new followers and sorry if I am being a bad blogger at the moment I am stopping by your blogs while I’m breastfeeding Emily but leaving comments is a little trickier ;-)

I would like to enter this card into the following challenges:
Thanks for stopping by
Lisa

Saturday, 2 February 2013

Want It! Win It Blog Hop with Sarah Hurley

Morning everyone. We’re having a hop to celebrate the launch of Sarah Hurley’s brand new website www.sarahhurley.com where you can now see all of Sarah’s products in one place!

You should have arrived here from Carol but if you have just stumbled upon this post and would like to take part in the hop please start at Sarah’s Blog.

I’m still a little sleep deprived to be crafting, so in lieu of something new I thought I would share with you a little project I made for Volume 2 of Sarah’s Lookbook. It made using the ‘I Love Paris’ Kit and with Paris being known as the ‘City of Love’ what better to create than a Valentines card…


If you haven’t already read Volume 2 of the Lookbook please grab a cuppa and head HERE to have a look at all the fabulous inspiration the Lookbook has to offer.


My favourite product from Sarah’s shop has to be the English Country Garden Digi Kit, the colours and patterns on the papers are just gorgeous, plus you get printable embellishments and an alphabet as well. If you tell us what your favourite product of Sarah’s is (by leaving a comment below or over on Sarah's Facebook Page) you have a chance to win it and a £10 gift voucher to use in Sarah's shop!

There are three chances to win, so the more comments you leave the more chances you have of winning - good luck!

Your next stop on the hop is Nat.

Thanks for stopping by and happy hopping.
Lisa

Tuesday, 29 January 2013

Step by Step for 2013 Calendar Wall Hanging


I have had a few requests from people, including a reader of Papercraft Essentials, for instructions on how I made the Calendar Wall Hanging that I shared in this post here. So here goes…

Materials:
  • Plywood Plaque
  • Acrylic Paint
  • Patterned Paper & Textured Card
  • Bunting & Number Stamps
  • Digital Images
  • Alcohol Markers
  • Butterfly Punch Large and Small
  • Cloud, Circle and Rectangle Dies & Die Cutting Machine
  • Glitter Glue
  • Paper Flowers
  • Cup Hooks, Book Rings, Ribbon, Pearls, Embroidery Thread and Wooden Pegs
  • PVA Glue, DS Tape and Foam Pads
Instructions:

1. Paint plywood base with chosen colours and distress edges. Also decorate with patterned papers and add cup hooks to bottom edge of calendar.

2. Print 4 digital images (representing the 4 seasons) and colour with alcohol markers. Mat and layer onto die cut shapes and affix to calendar.

3. Stamp and cut out bunting and numbers and punch/die cut various items. Use these, along with some paper flowers and ribbon, to embellish the calendar.

4. Create calendar pages using computer, print and mat and layer onto card. Hole punch the calendar pages and attach to calendar using book rings.

5. Add some glitter glue as a final embellishment

Hope some of you find this useful.

Thanks for stopping by
Lisa

Sunday, 27 January 2013

Fancy Edges at Whimsy


Hello everyone, hope everyone is well. Still no crafting from me at the moment but we’re all adjusting to having a newborn in the house again. So I thought I would pop online and share my January challenge card as part of the Whimsy Digital Design Team. The challenge started on Wednesday 16th January but you still have over two weeks left to enter and the theme this month is…

Fancy Edges


I’ve used one of the gorgeous new digis that was released in January Dana's Digi's – Chickadee and some fabulous digital papers from Michelle R Designs - Magnolia Spring Blossom…


The image has been coloured with ProMarkers. I have used a Lifestyle Crafts die to create the fancy edge of the card, along with a Martha Stewart Half Daisy punch and a Spellbinders Picot Edge Circle Die to create my other fancy edges. I’ve also used some flowers and a ribbon slider from Wild Orchid Crafts, some organza ribbon from my stash, a metal butterfly (bought in a packet from the 99p store!), Viva Decor Pearl Pen (cream), Diamond Stickles, Paula Pascual Sentiment and grey card.

This month our prizes are…first winner:


Second winner:


And third and final winner:
A Mystery Rubber Stamp

Please hop across to Whimsy Inspirations Challenge to see what the other designers have created and to check out the challenge rules.

I would like to enter this card into the following challenges:
Thanks for stopping by
Lisa

Tuesday, 22 January 2013

New Toy….


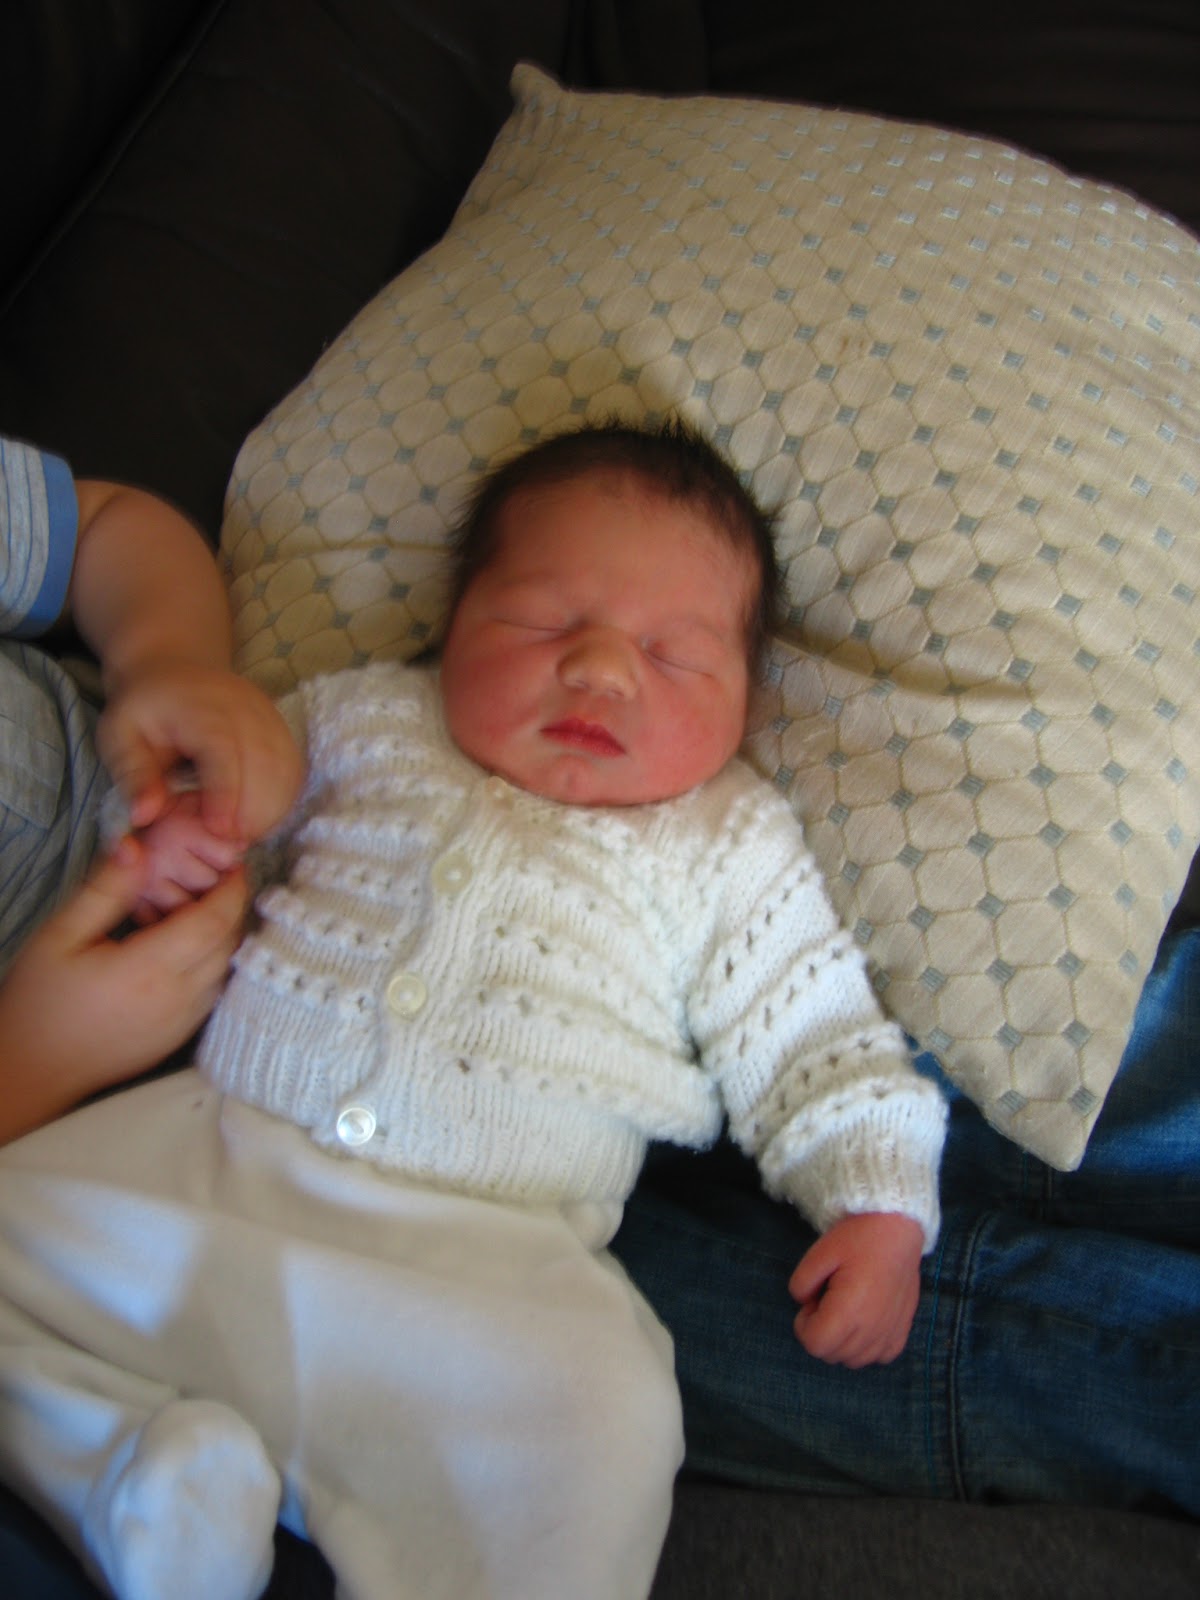
…..but as you can see it’s not craft related. Baby Bump decided to make an appearance a week early on Monday 14th January,  a little girl, 8 pounds 2 ounces and we have called her Emily. We’re both doing well, apart from Emily is a little too sleepy and not so eager to feed so she has lost a little too much weight (she’s now 7 pounds 2 ounces) and we are having to feed every three hours, even in the night!


As you can see her big brother is completely smitten, as am I, so between the feeds, lack of sleep and lot’s of cuddles I probably won’t have time for crafting for a couple of weeks. 


I may be back on my blog a bit sooner though as I have a few blog posts to catch up on for cards I had made in advance for Whimsy Stamps Digital DT and the PCJ DT. 

Thank you for stopping by
Lisa
Related Posts Plugin for WordPress, Blogger...